How to Create a Liquid Staking Pool Using PolkadotJS
Step 1: Access the PolkadotJS Interface
- Open PolkadotJS Apps.
- Connect to the desired Tangle network by selecting the appropriate network from the left dropdown list. Note that liquid staking pools are only available on the networks in which they are created.
- In case that the network that you’re looking for is not listed on the dropdown list, input its RPC endpoint under the
DEVELOPMENT→custom endpointinput.
For convenience, here are the PolkadotJS direct links for Tangle Testnet and Mainnet:
- Tangle Testnet: https://polkadot.js.org/apps/?rpc=wss%3A%2F%2Ftestnet-rpc.tangle.tools#/explorer
- Tangle Mainnet: https://polkadot.js.org/apps/?rpc=wss%3A%2F%2Frpc.tangle.tools#/explorer
Step 2: Check Pool Creation Requirements
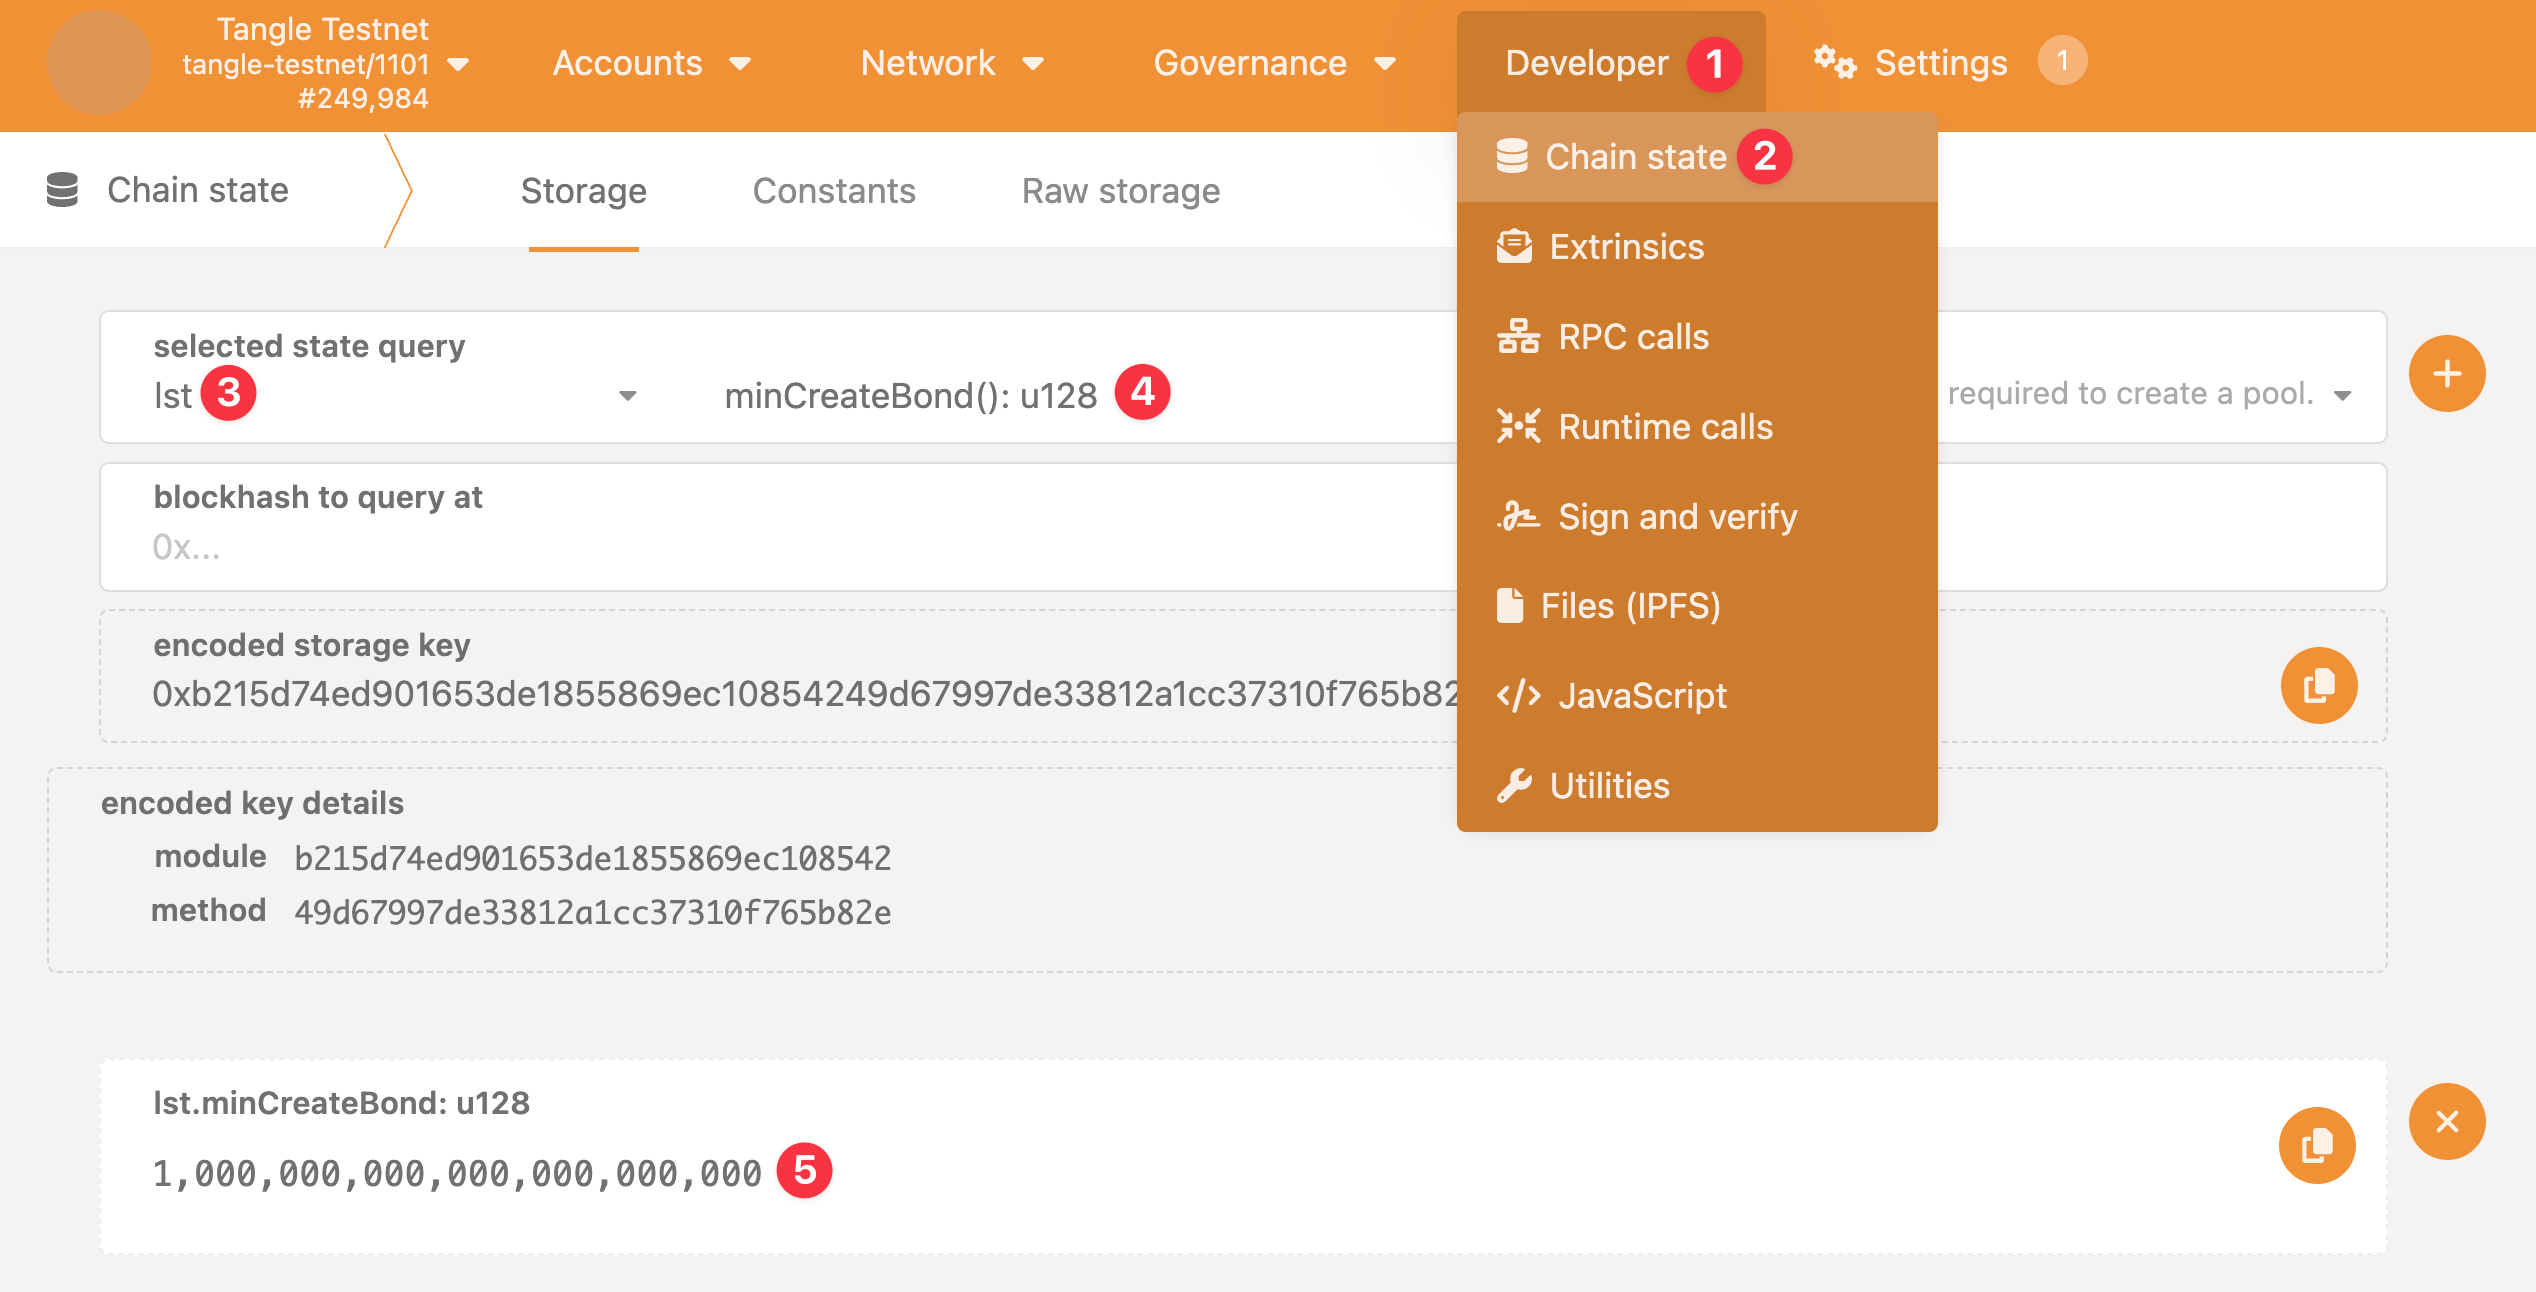
- In order to prevent spam, pool creation may require a minimum bond amount to be deposited. Ensure that you have enough funds in your account to cover this requirement.
- These funds will not be forfeited; they will be bonded to the pool and will be returned to you when the pool is dissolved.
Step 3: Create a Pool
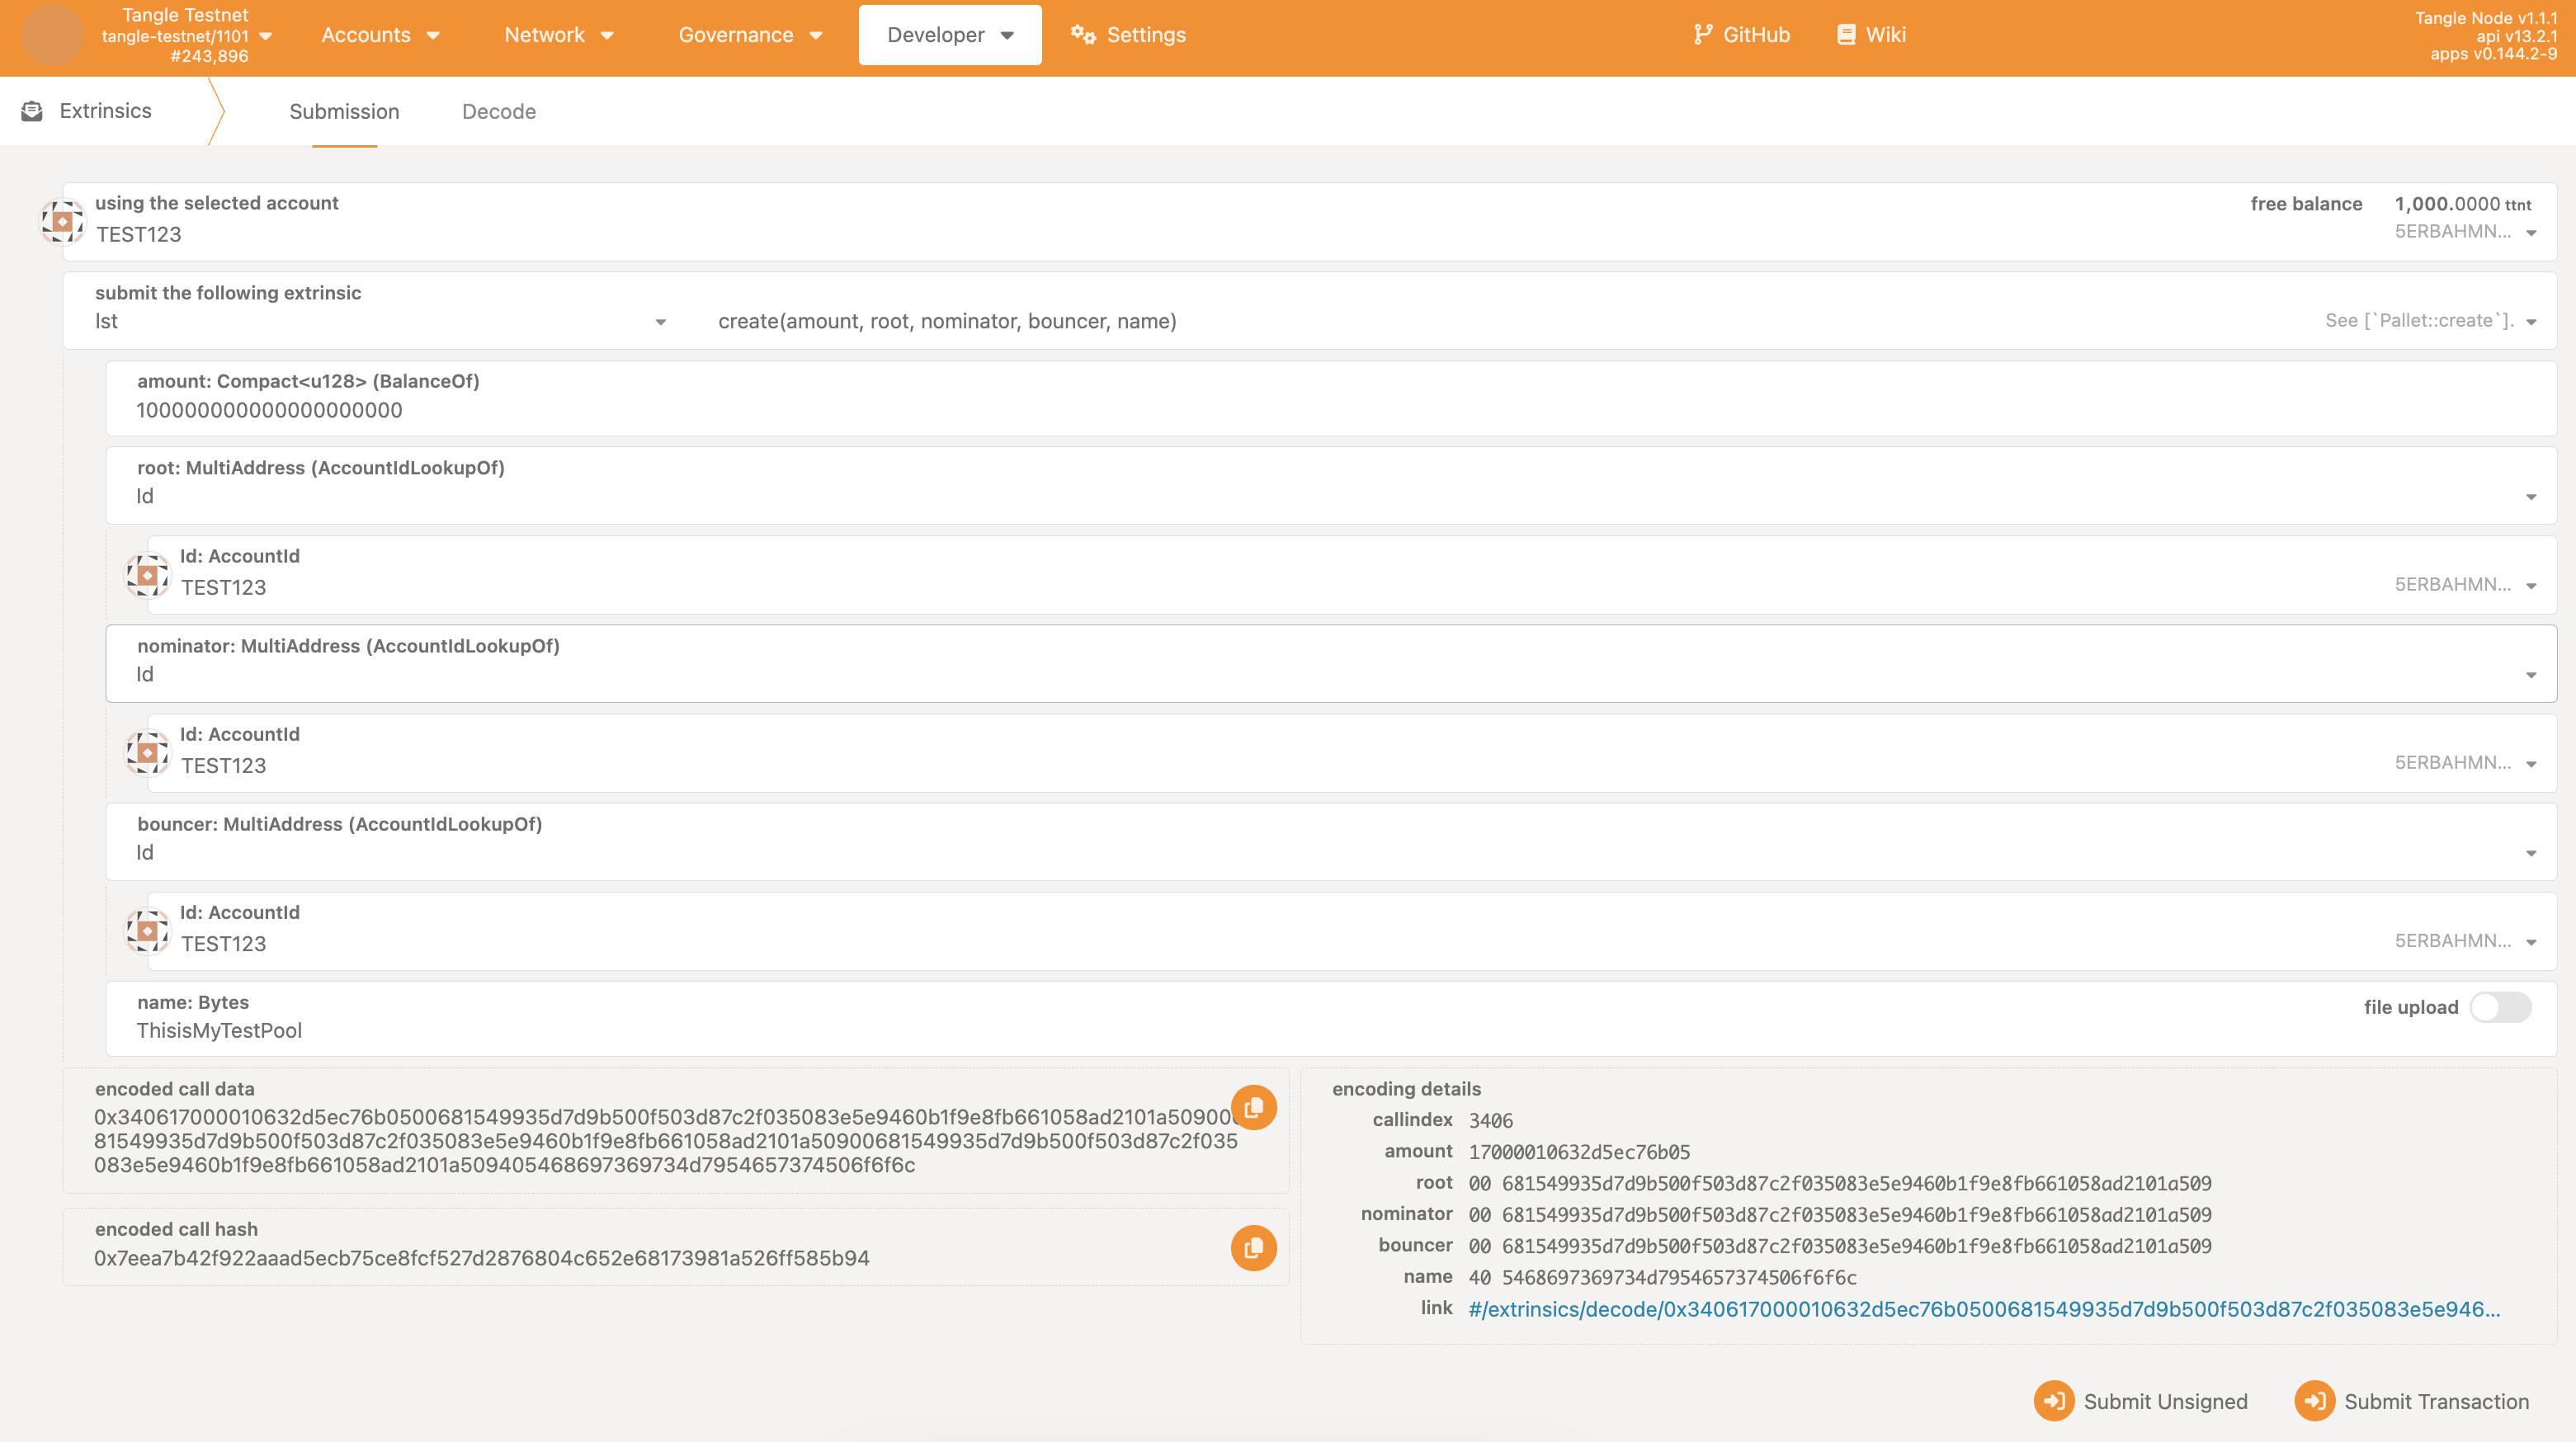
- Navigate to the Developer → Extrinsics tab on PolkadotJS.

- Under the lst section, select create(…).
- Enter the required details such as:
- Initial deposit amount: The amount of tokens you are contributing to the pool. This is in lowest unit, so should be in 18 decimal places.
- Root account address: The account that will be responsible for managing the pool.
- Nominator account address: The account that will nominate validators for the pool.
- Bouncer account address: The account responsible for managing participant entries and exits.
- Pool Name: Choose a brief and descriptive name for your pool. Does not need to be unique.
You can use the same account for the root, nominator and bouncer or different accounts.
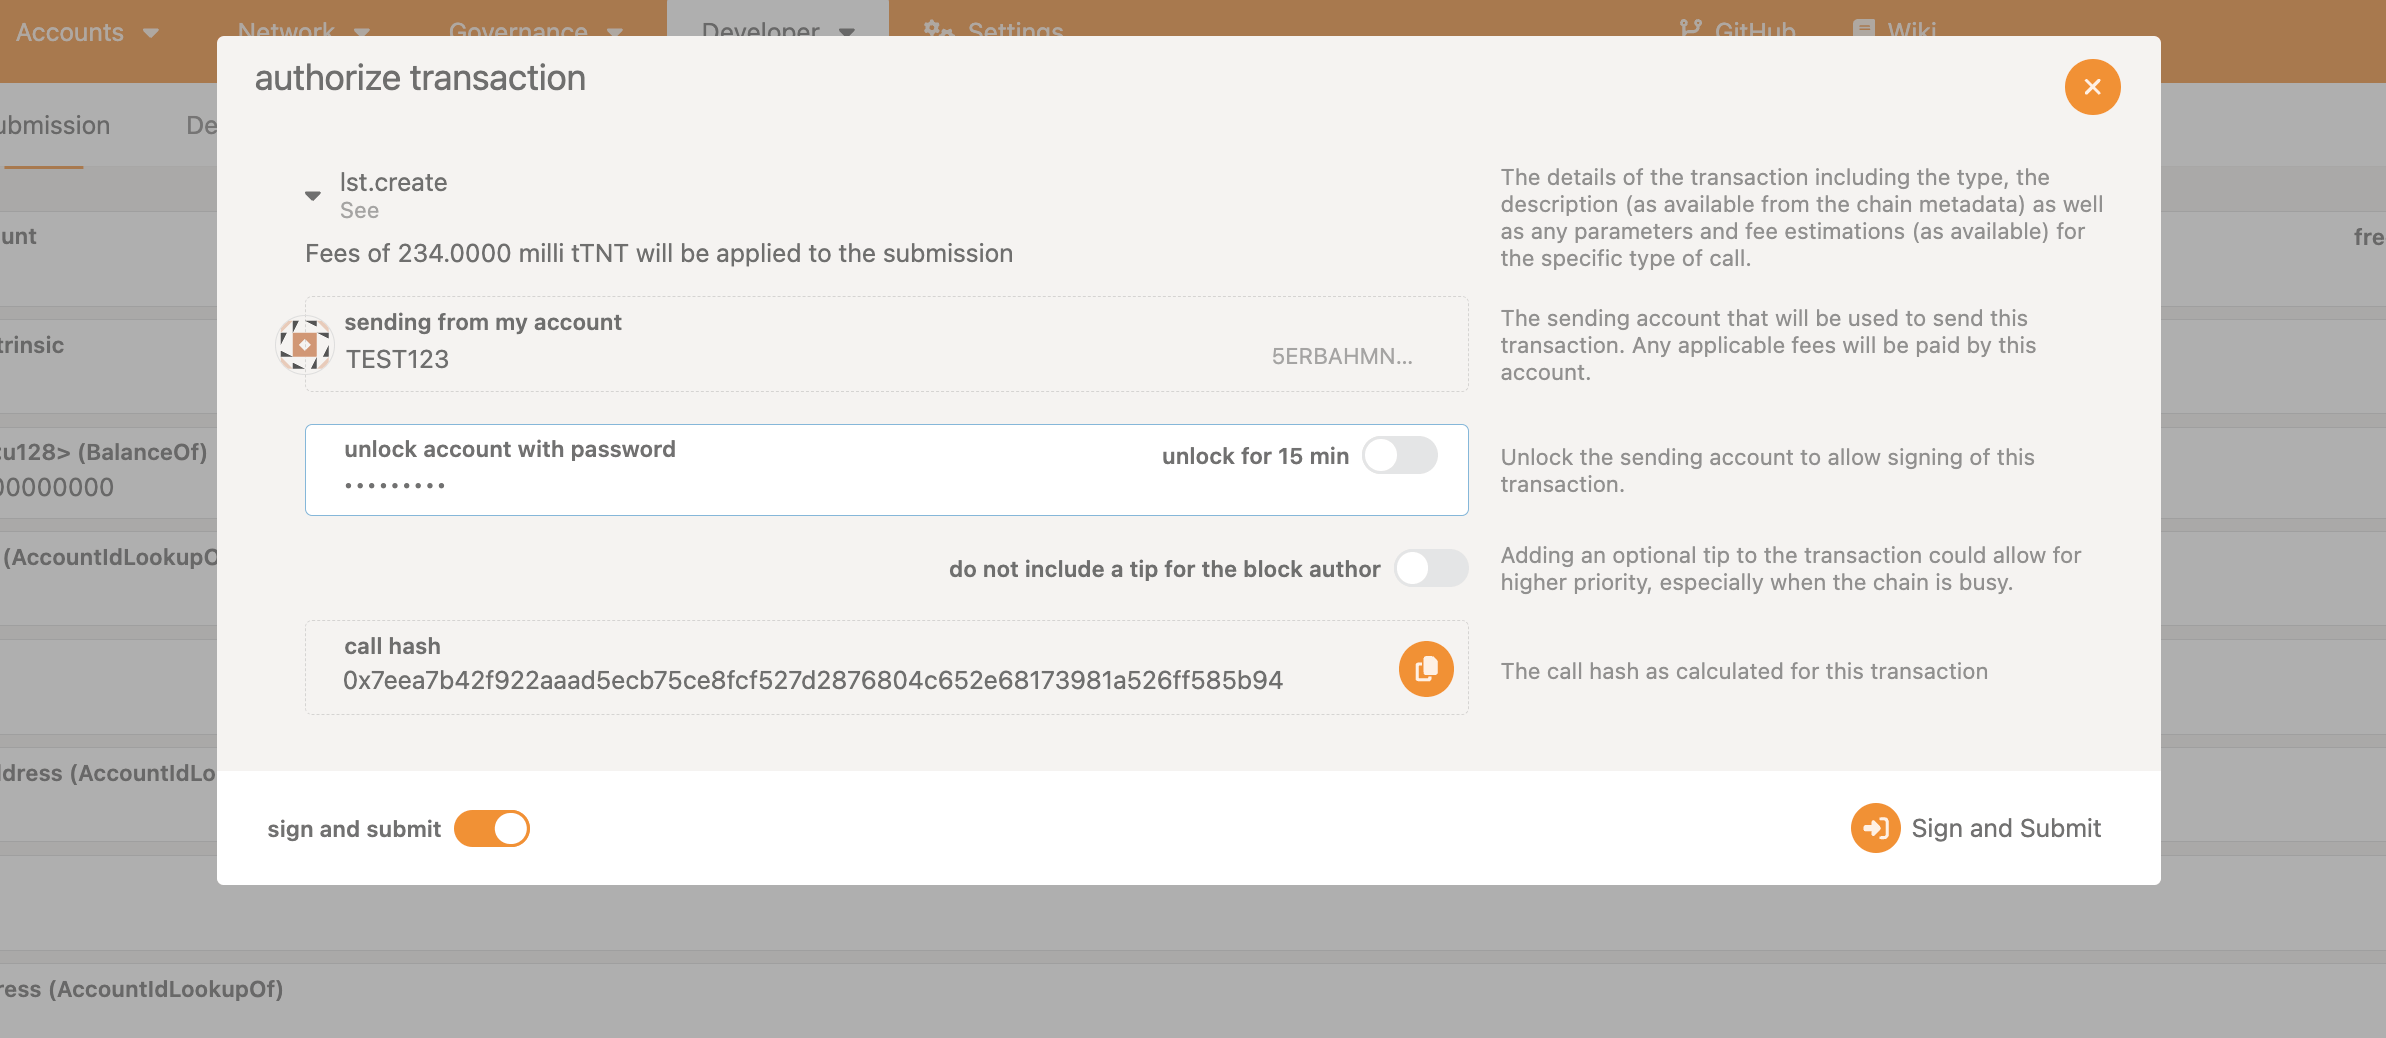
Sign and submit the transaction. Make sure the account you are using has enough balance to cover the transaction fee and pool deposit.
If successful, you should see the following confirmation toast notification:
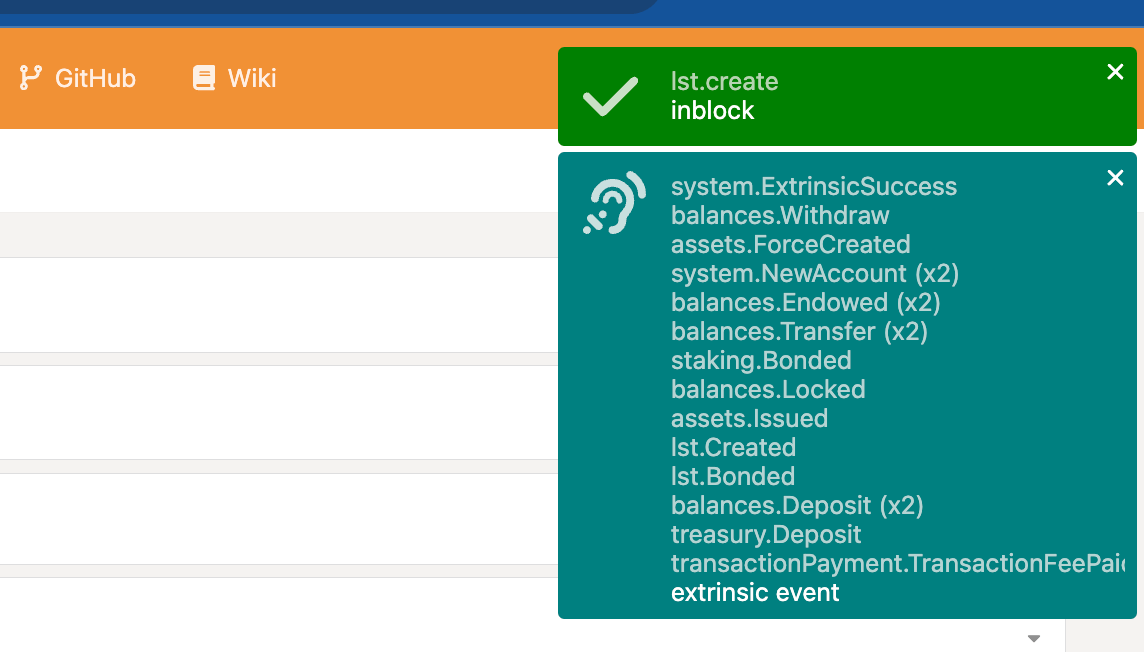
Let’s break down the events. Navigate to the Network → Explorer tab, and you should see the following events:
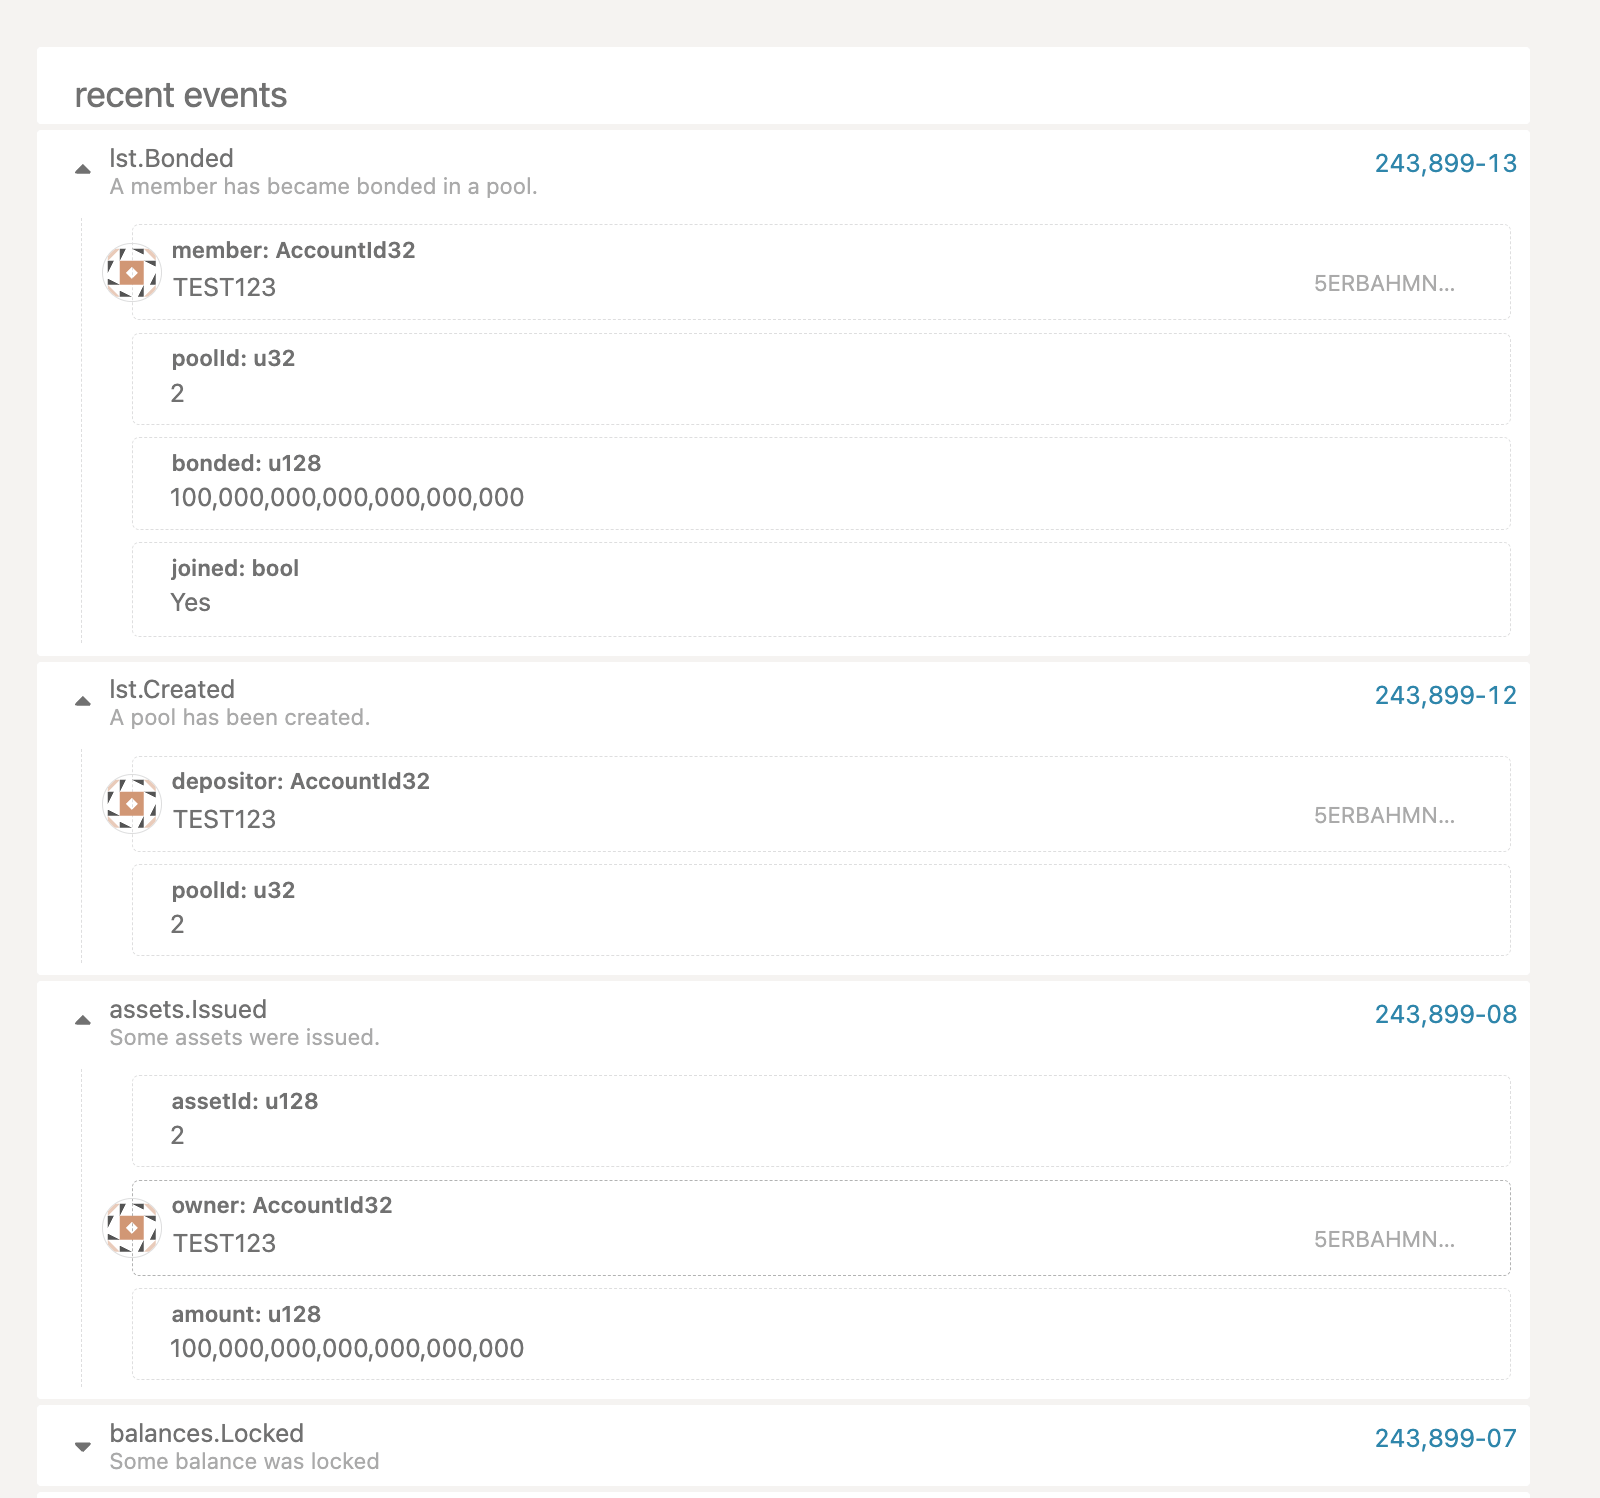
- lst.Bonded: Your initial deposit was bonded to the pool.
- lst.Created: Pool creation confirmation, along with the pool’s unique ID.
- assets.Issued: A new asset (LST) was created and issued the staked tokens to the creator.
Step 4: Configure Commission and Roles (Optional)
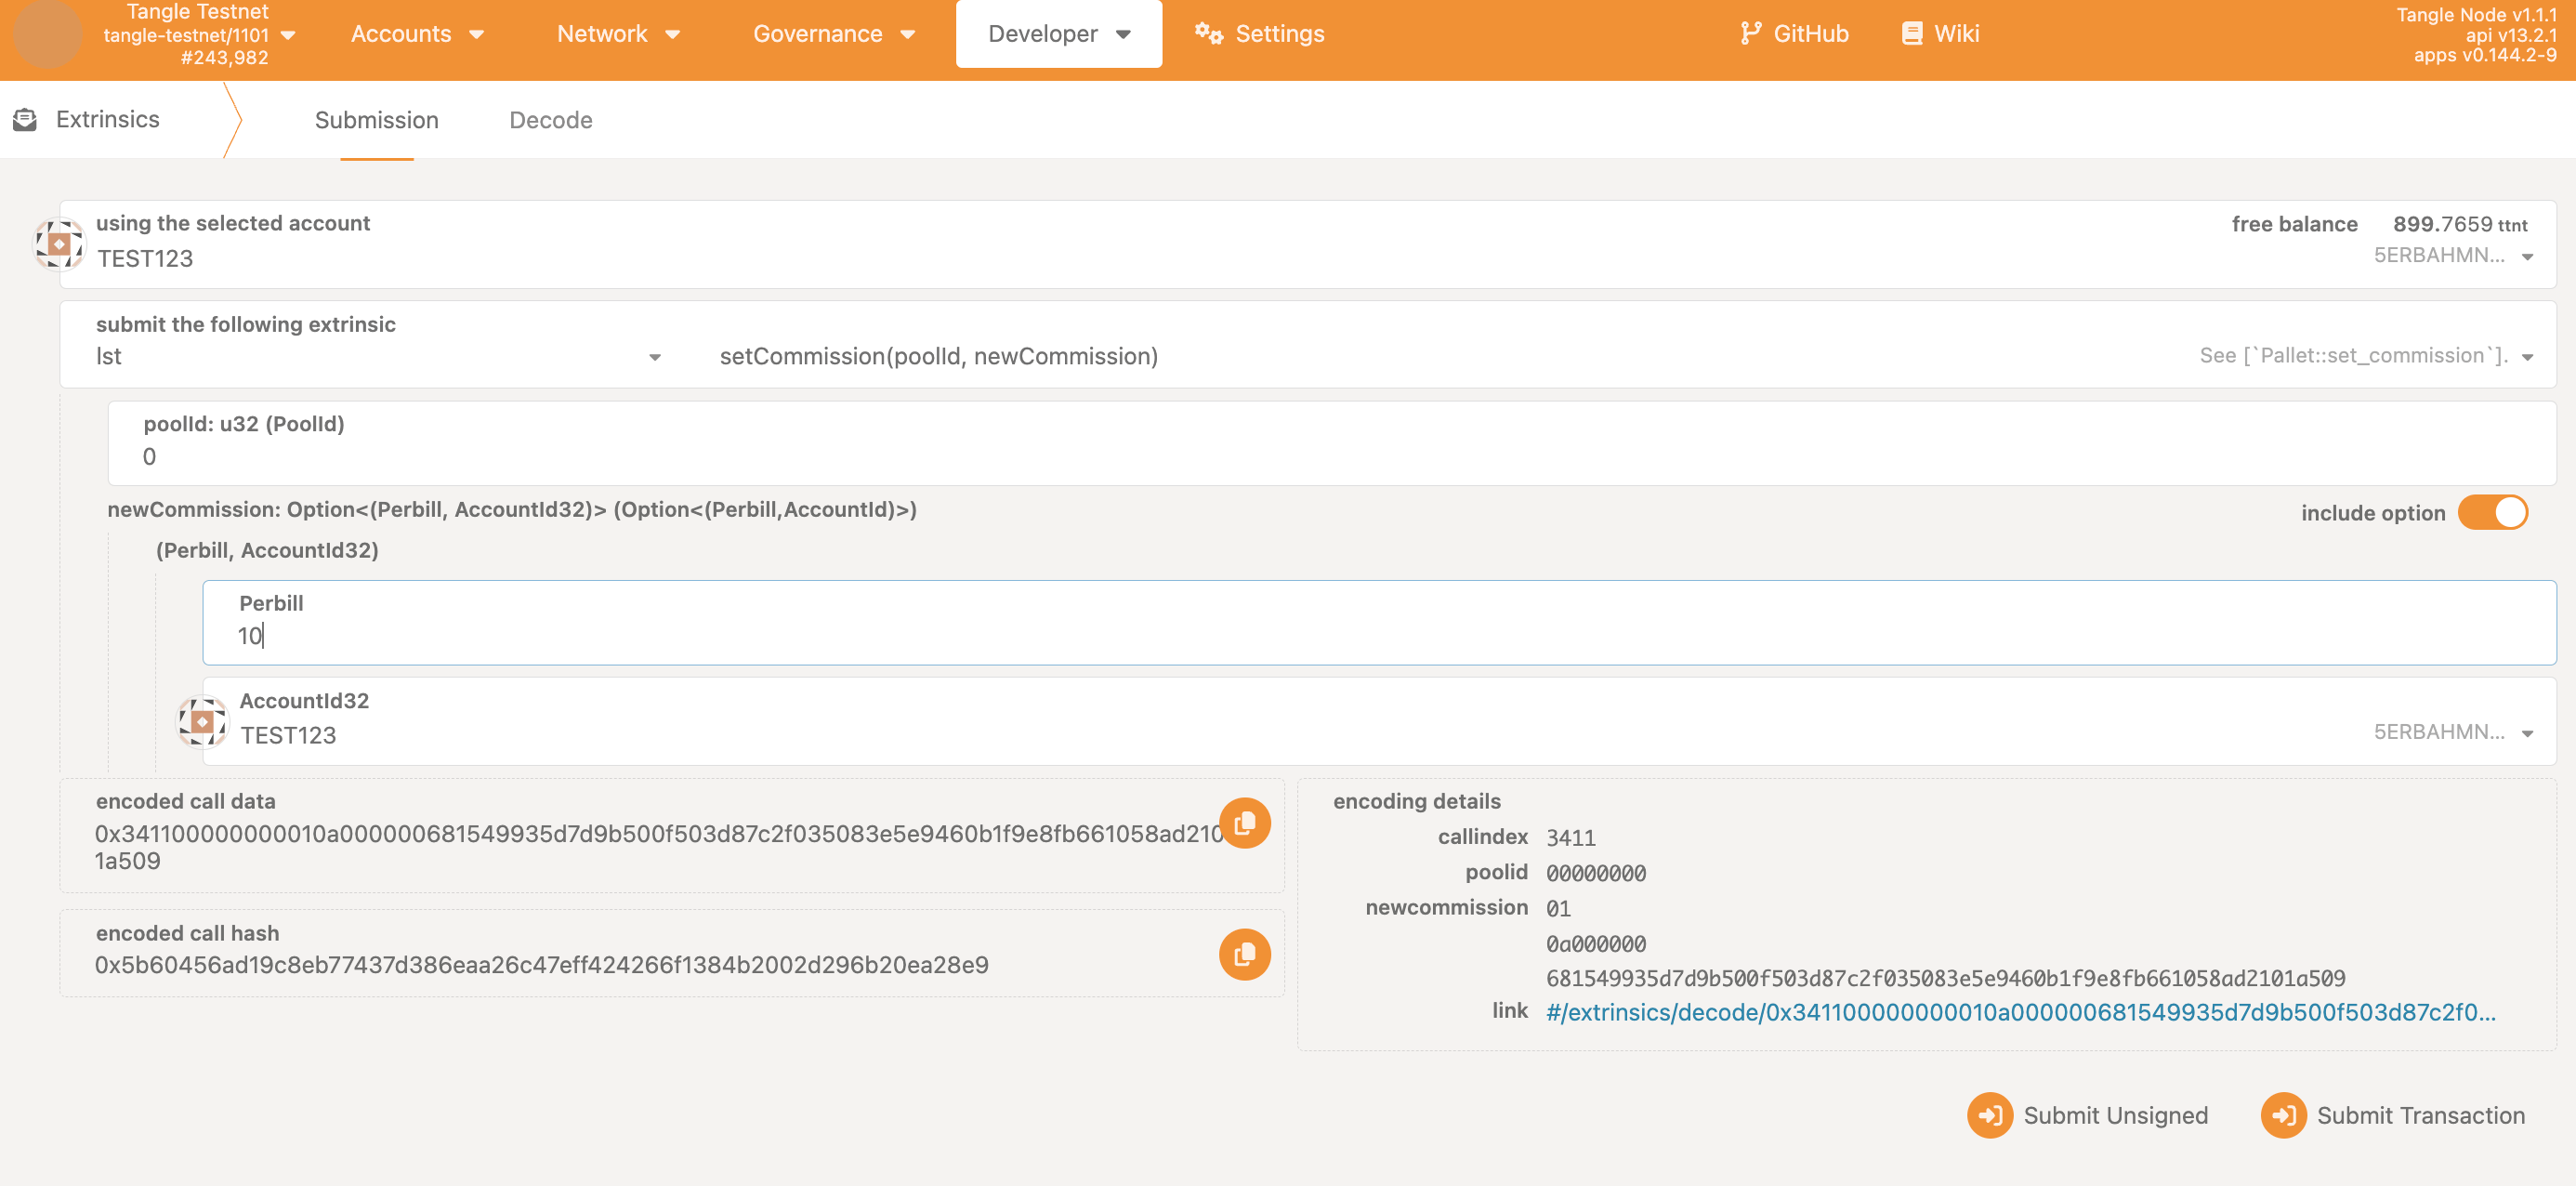
- Set the commission rate you wish to charge as the pool manager by navigating to the Developer → Extrinsics tab, and under the lst section, selecting setCommission(…).
- Note that this amount is in perbill (1/1,000,000) units, so a commission rate of 10% would be entered as
100 000. Another example, a commission rate of 12.34% would be entered as123 400.
